Change Report
The Change Report tab (
Note: The Change Report tab was updated in V3.59.2 of the Guardian web application. To view the most up to date functionality, upgrade to this version. For more information, see September 2025 Monthly Release.
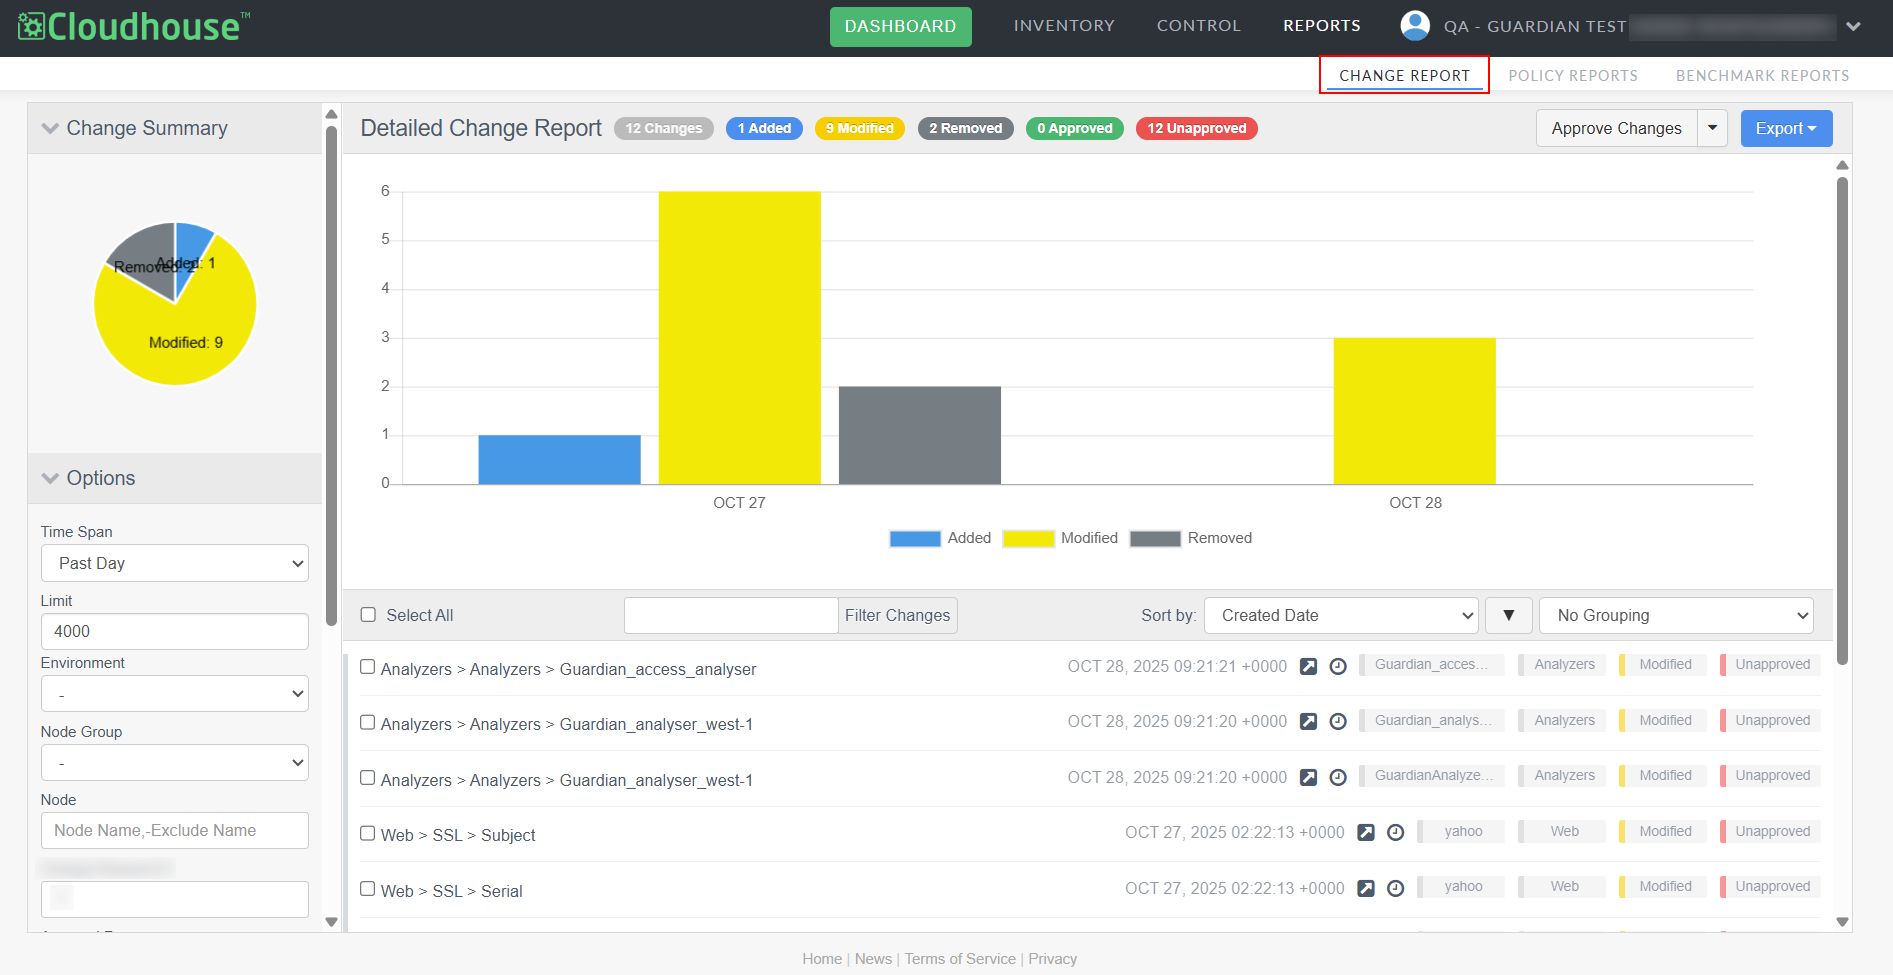
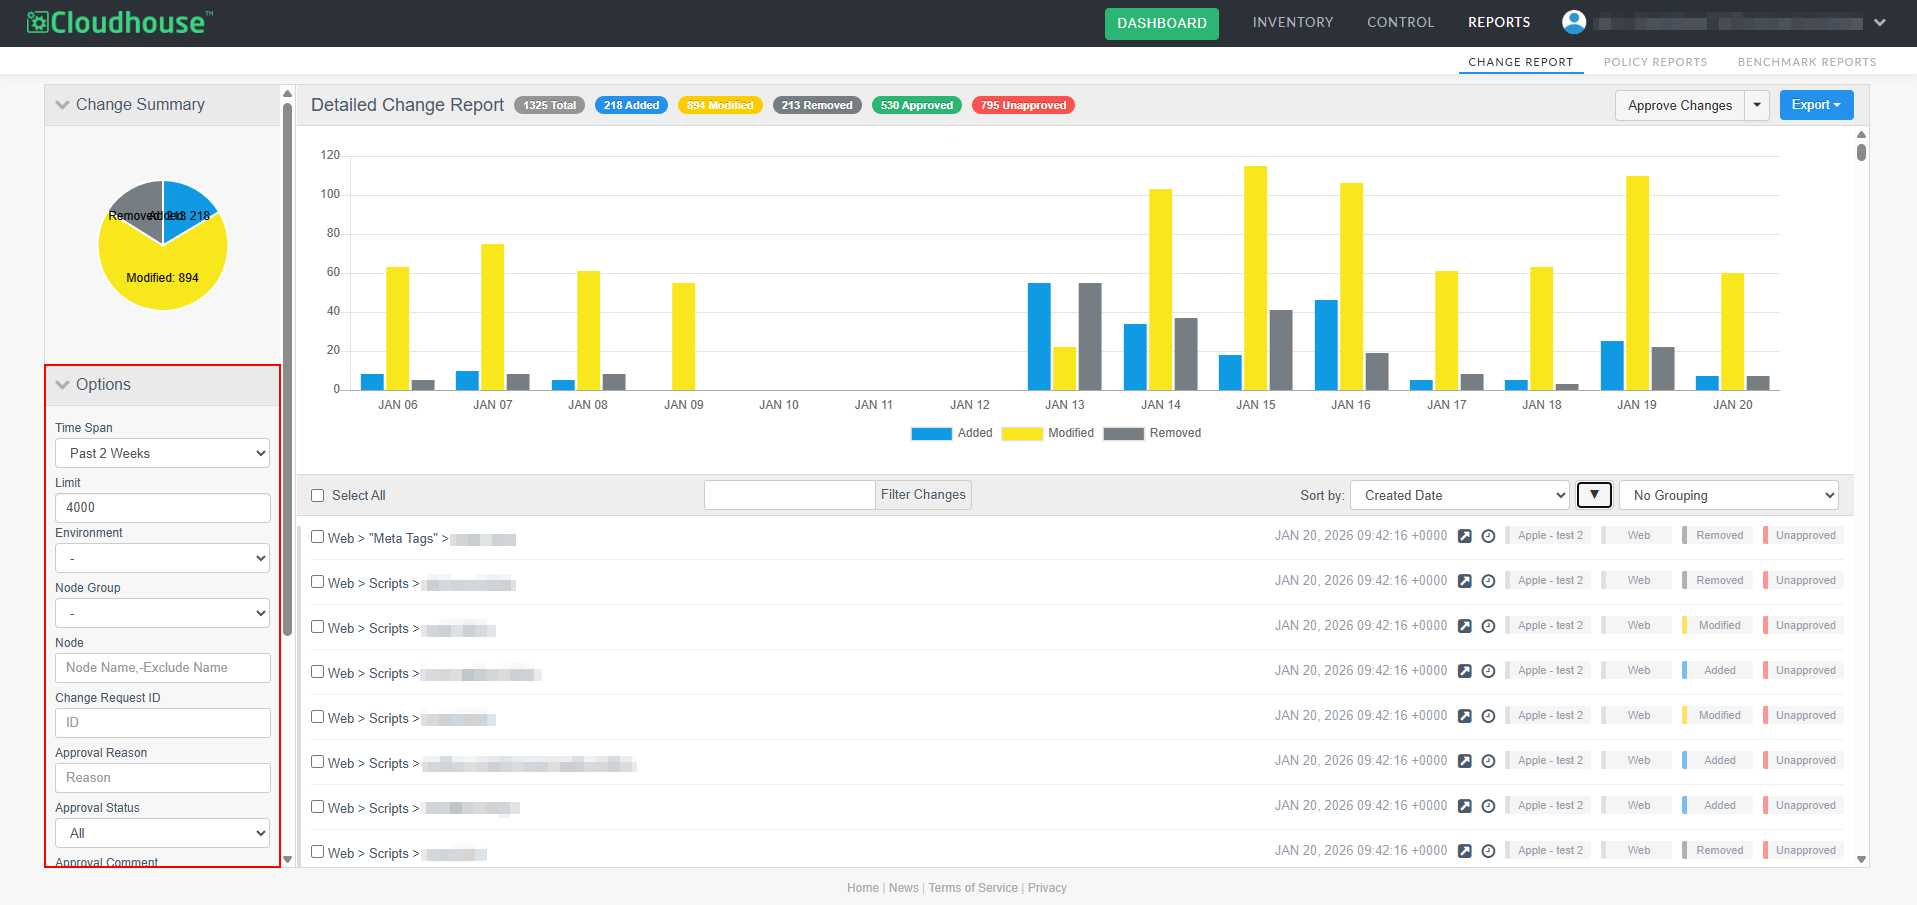
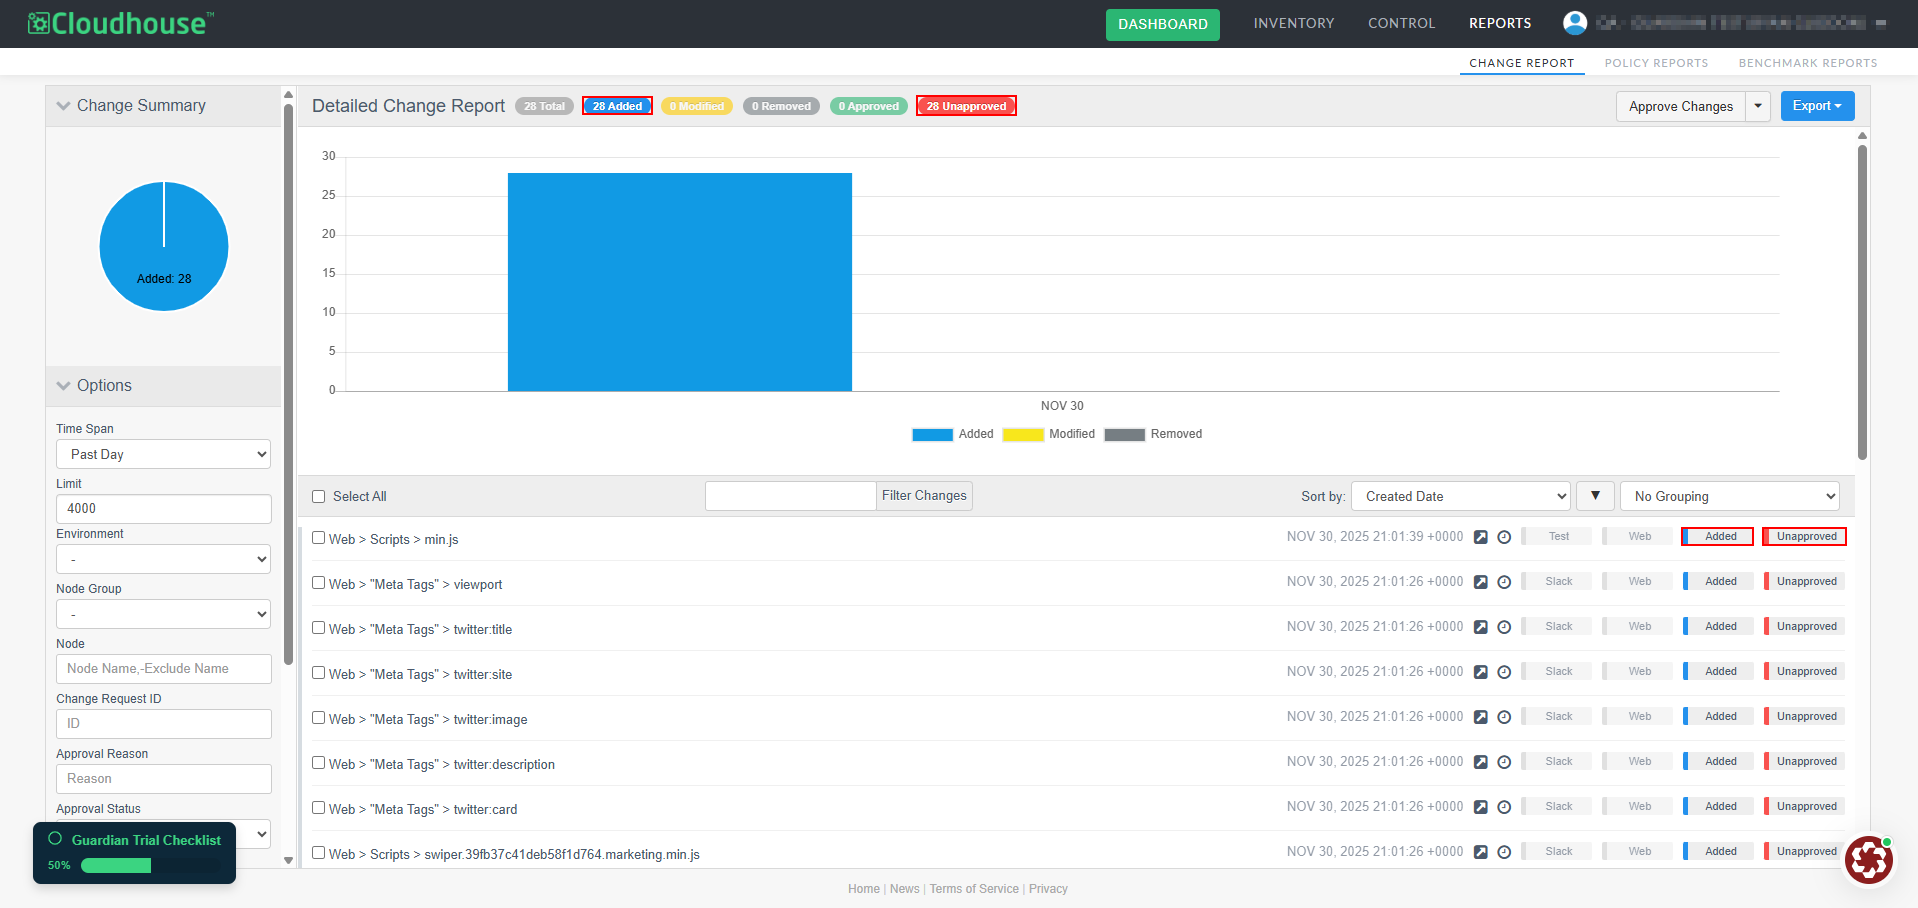
At the top of the page, there is a bar chart breaking down the number of changes that occurred within the selected time frame. Above the graph, change indicators represent the nature of changes and provide a count for each change type. In the left sidebar, the Change Summary pie chart displays a visual breakdown of the type of changes that have occurred. Below this pie chart are several options you can use to generate custom reports.
Report Options
By default, the Change Report tab displays data from the past day for all nodes in your environment. However, you have a number of options available to customize the data in your report using the Options drop-down menu in the left sidebar.
Note: For more information on additional filter options, see Group and Filter Changes.
The filter options include:
| Option | Description |
|---|---|
| Time Span drop-down menu |
A window of time for which you want to view change data. Select an option from the drop-down list to filter your results according to stipulated time frame. For example, 'Past Week', 'Past 3 Months', or you can select a custom range. |
| Limit field | The maximum amount of changes displayed in the change report. Enter a value in the field, or use the arrows to increase or decrease the number of changes displayed. |
| Environment drop-down menu |
The environment you want to filter your change results by. Select an option from the drop-drown list. Note: For more information on environments, see Environments. |
| Node Group drop-down menu |
The node group you want to filter your change results by. Select a node group from the drop-down list. Note: For more information on node groups, see Node Groups. |
| Node field |
The name of the node that you want to filter your results by. For more complex node names, you can add a minus (-) symbol to excludes nodes that match that criteria from the change report. For example, including '-dashboard' will remove all mentions of 'dashboard' from the report. |
| Change Request ID field |
The change request ID you want to filter your results by. For example, 'CHG0001234'. Enter a whole or partial change request ID in this field to filter your results. Note: This feature was introduced in V3.59.2 of the Guardian web application. For more information, see September 2025 Monthly Release. For more information on change request IDs, including how they are set during the change approval process, see Approving Changes. |
| Approval Reason field |
The reason why a change was approved. A list of default approval reasons can be set and then applied to multiple changes to better categorize your report. For example, 'URL Change'. Enter a whole or partial approval reason in this field to filter your results. Note: This feature was introduced in V3.59.2 of the Guardian web application. For more information, see September 2025 Monthly Release. For more information on approval reasons, including how they are set, see Approval Reasons. |
| Approval Status drop-down list |
The approval status of changes you want to view. Select one of the following options from the drop-down list:
Note: This feature was introduced in V3.59.2 of the Guardian web application. For more information, see September 2025 Monthly Release. |
| Approval Comment field |
The approval comment linked to an approved change. Enter a full or partial approval comment in this field to filter your results. Note: This feature was introduced in V3.62.0 of the Guardian web application. For more information, see January 2026 Quarterly Release. |
| Change Type drop-down list |
The type of changes you want to see in your report. Select one of the following options from the drop-down list:
|
| Category drop-down list | The configuration item type you want to view. Select a value from the drop-down list to filter the content by configuration item. For example, 'Clusters'. |
Once you've filtered your report according to the subset of changes you'd like to review, you can further group and filter those changes as required for further visibility.
Group and Filter Changes
Once you've applied filters to narrow down your change report, you can further refine how the data is presented using the Grouping options. These options help you organize filtered results for faster navigation. You can change how the data in your report is grouped by using Grouping drop-down list on the right hand side of the table.
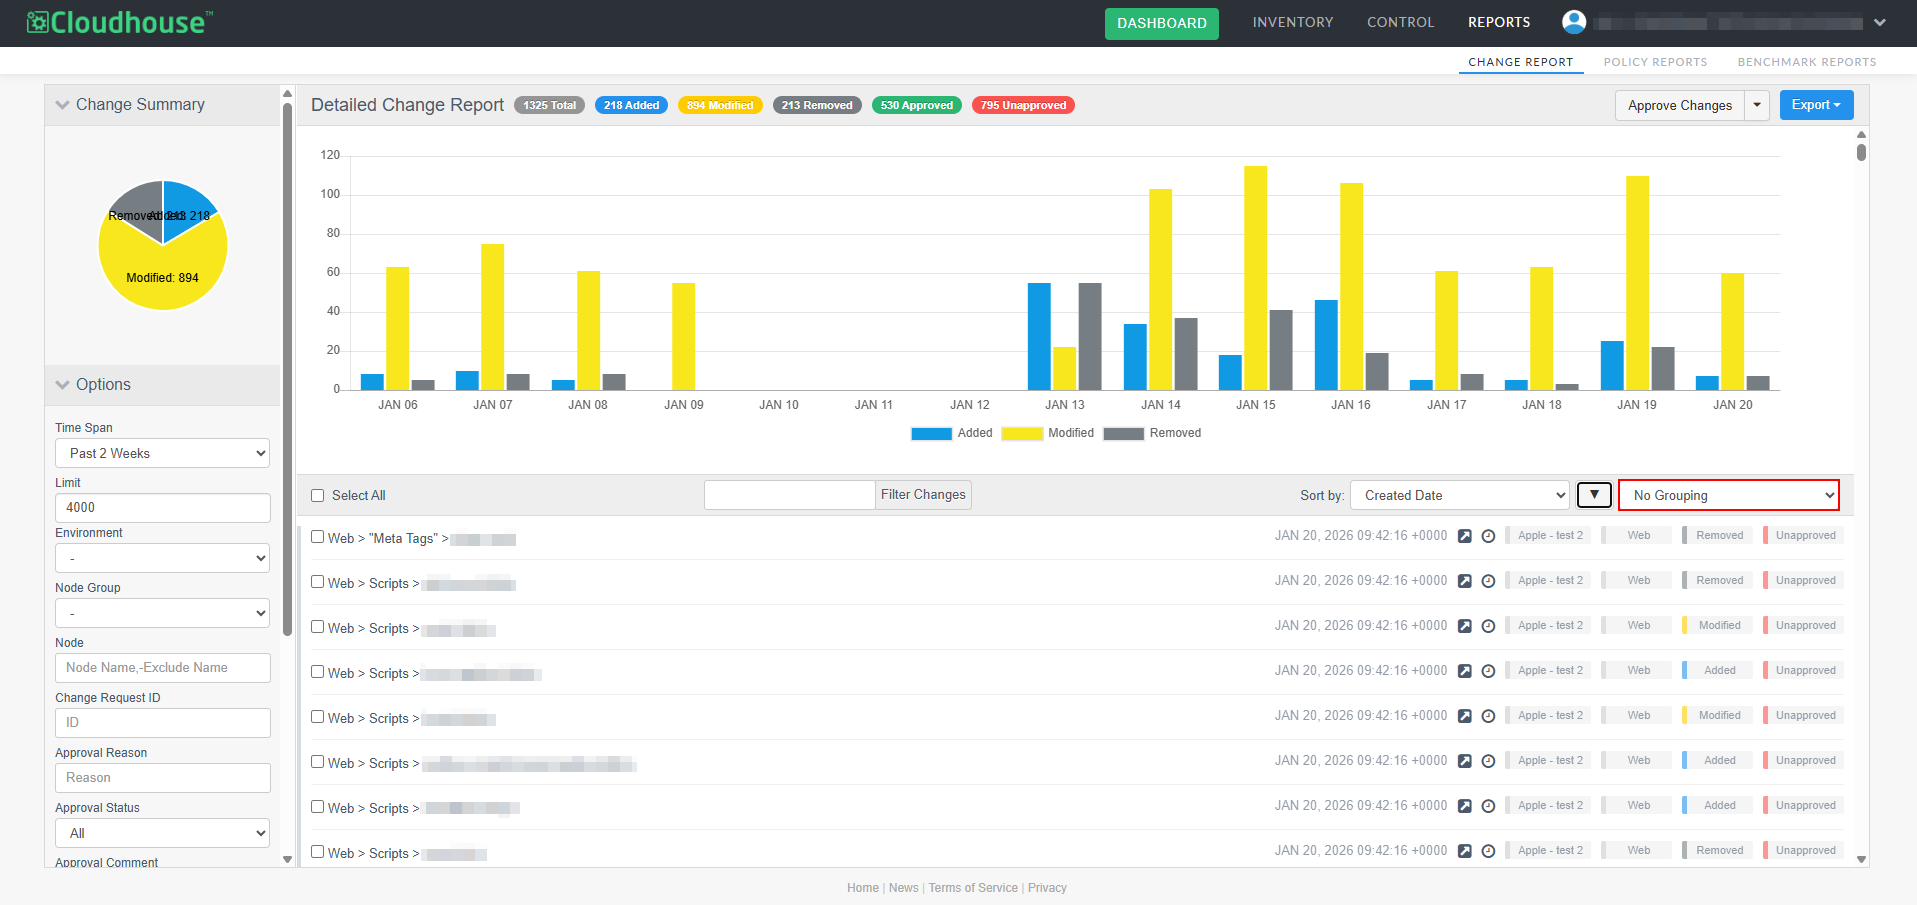
By default, data in a report will have No Grouping. This means that the report lists each change individually in the order of occurrence, from most recent to oldest, with information on each change displayed in the reference tags.
Note: The reference tags feature was introduced in V3.59.2 of the Guardian web application. For more information, see September 2025 Monthly Release.
However, you can choose what works best for you from the following grouping options:
| Option | Description |
|---|---|
| No Grouping | Lists each change individually in the order of occurrence, from most recent to oldest. |
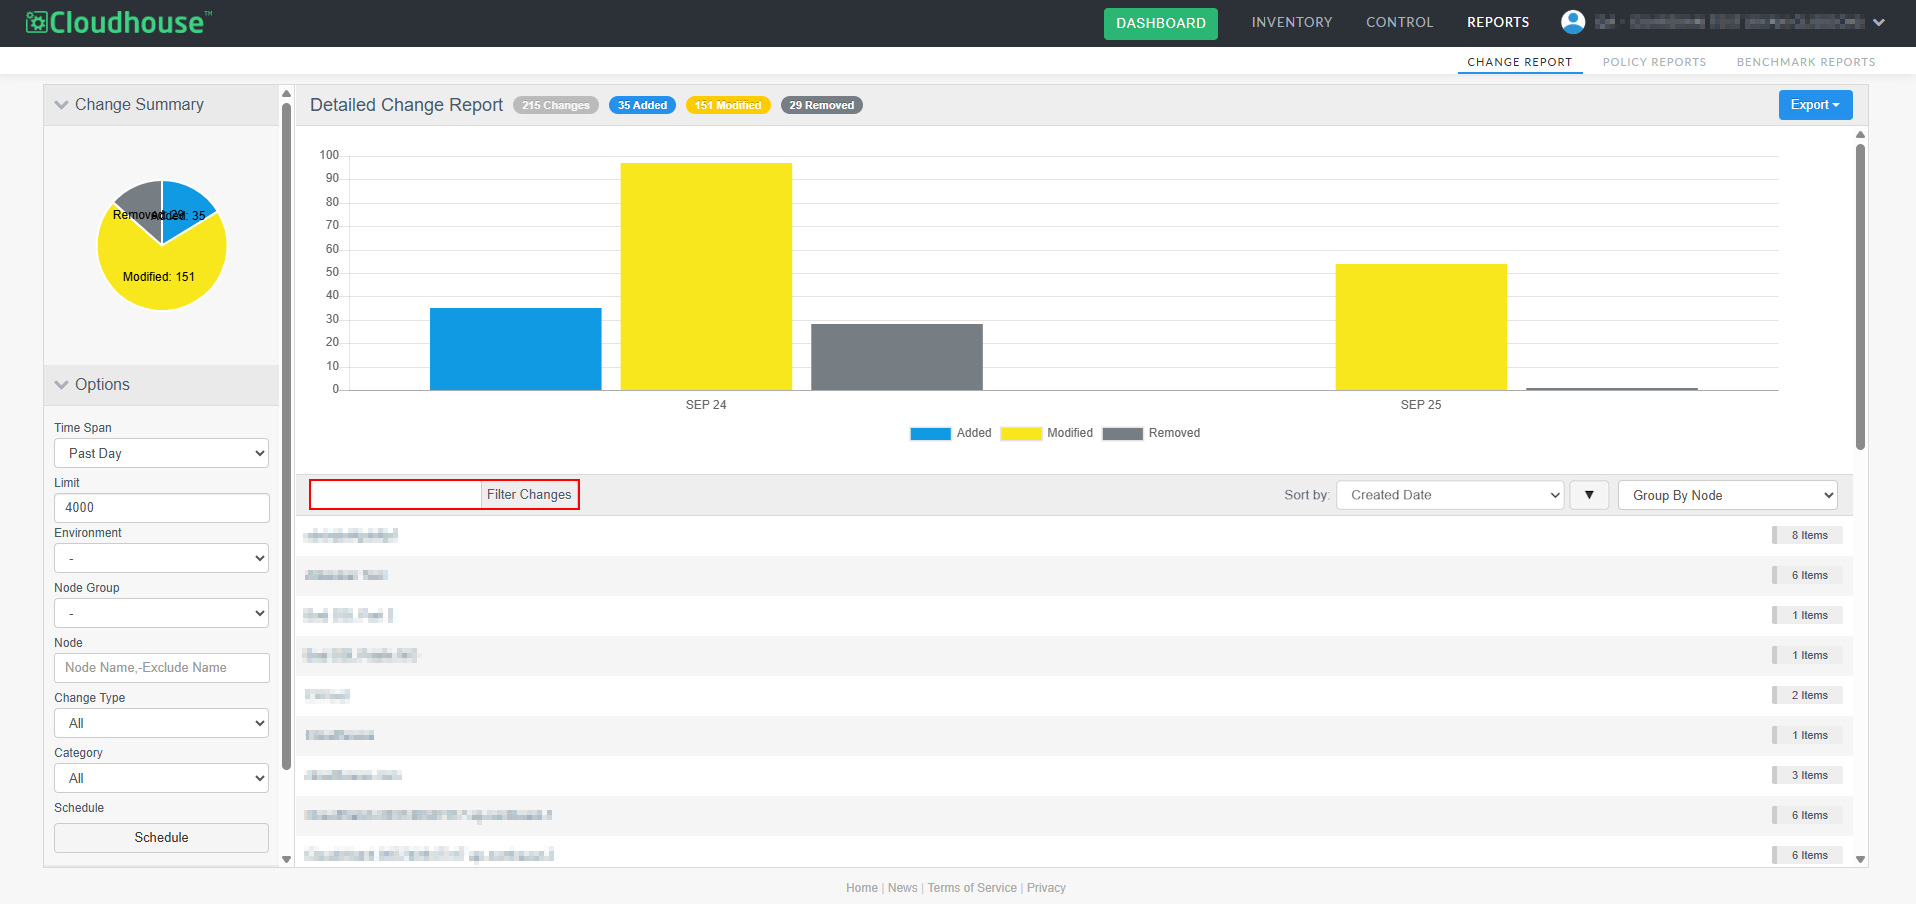
| Group By Node | Groups changes by their respective node. Click a node in the report to view its changes. |
| Group By Day | Groups changes by the day on which they occurred. Click on a day to view the changes that happened on that day. |
| Group By Month | Groups changes by the month during which they occurred. Click on a month to view the changes that happened on that day. |
You can also filter your report in two other ways:
-
You can also search for a specific change using the Filter Changes search bar. To do this, enter any text you wish to filter your results by, and results will appear in the table automatically.
-
You now use the change indicators at the top the change reports as interactive filters. Click an indicator (e.g., Added, Modified, or Removed) to filter the report by that change type. Click the indicator again to remove the filter. You can also combine multiple indicators and approval statuses (Approved or Unapproved) for more refined filtering. This provides a quick and efficient way to narrow down results without leaving the report.
Note: This feature was introduced in V3.61.0 of the Guardian web application. Upgrade to this version to access this feature, or see December 2025 Monthly Release for more information.
Sort Change Report by Key Fields
Sort the change report by key fields in either ascending or descending order. This makes it easier to classify, review, and prioritize changes, improving both usability and efficiency across more complex configurations.
Note: This feature was introduced in V3.60.0 of the Guardian web application. Upgrade to this version to access this feature, or see October 2025 Quarterly Release for more information.
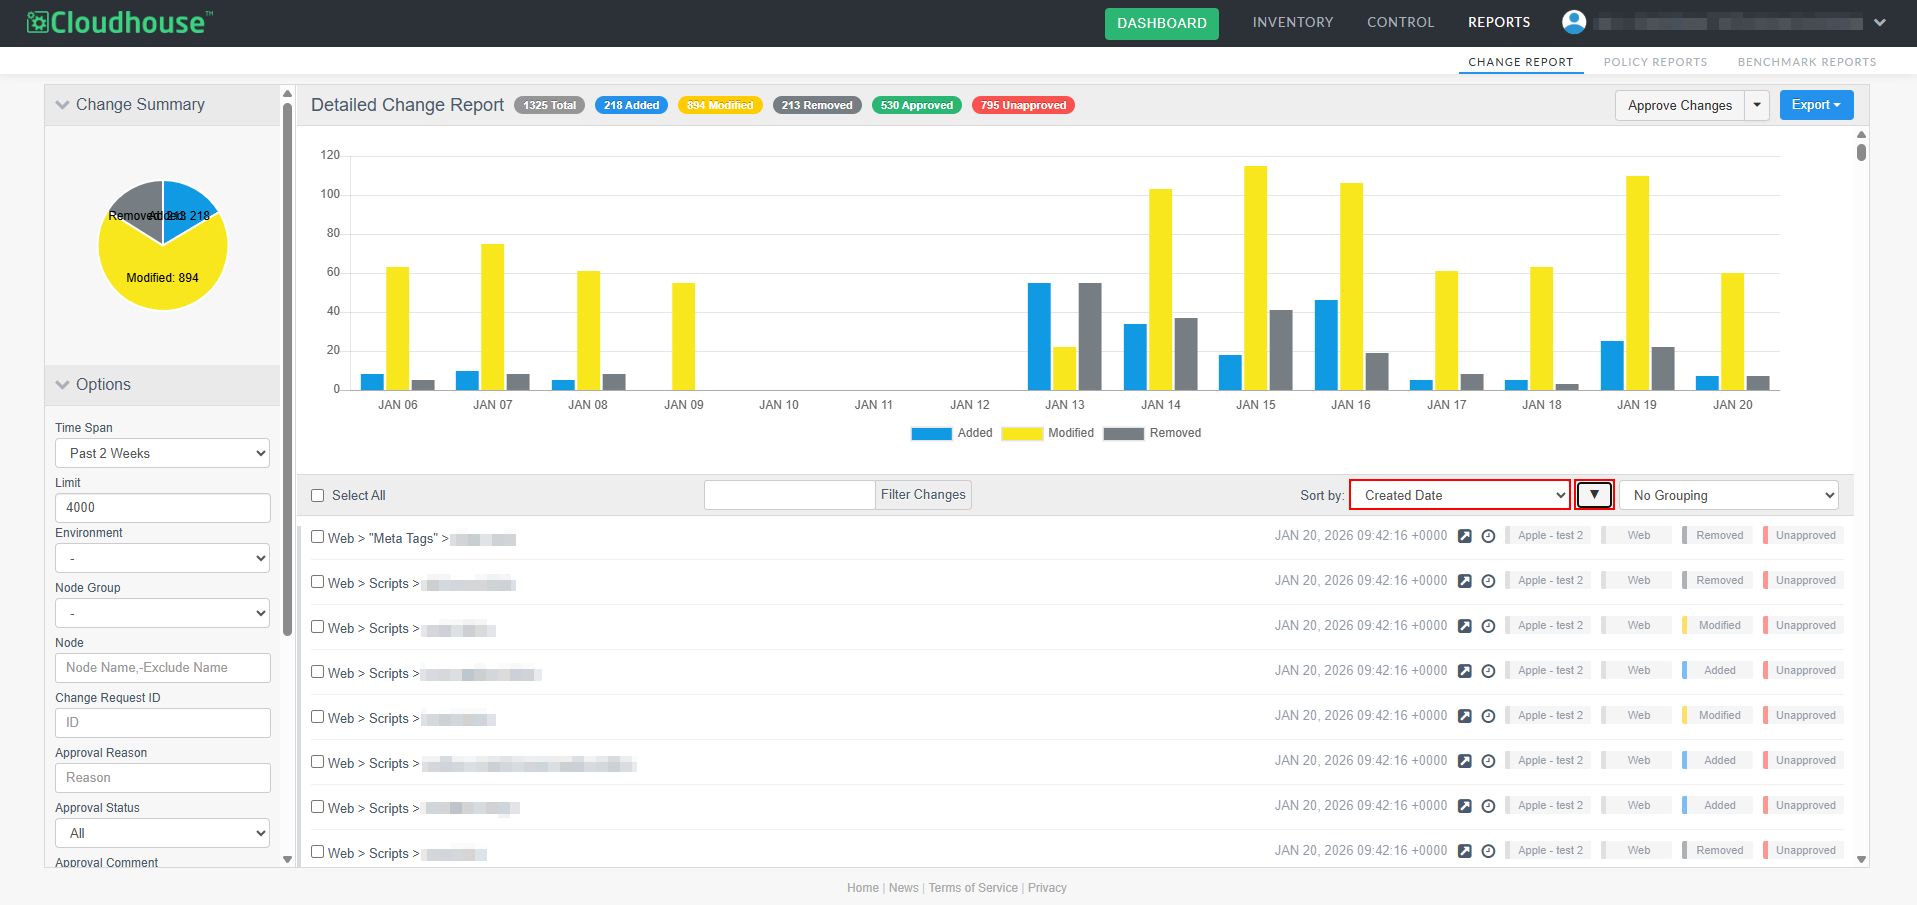
Sort the change report using the following fields:
-
Path – The full path for the configuration item (CI), such as a file or folder.
-
Created Date – The time and date the change was made. The report is sorted by this field in descending order by default.
-
Node Name – Name of the node.
-
Type – The section of the scan the node appears in (Analyzers, Dashboards, Log Groups, Web).
-
Status – The status of the change (Added, Modified, Removed).
This sorting functionality works seamlessly with paging and export features, ensuring consistency across the interface and exported reports.
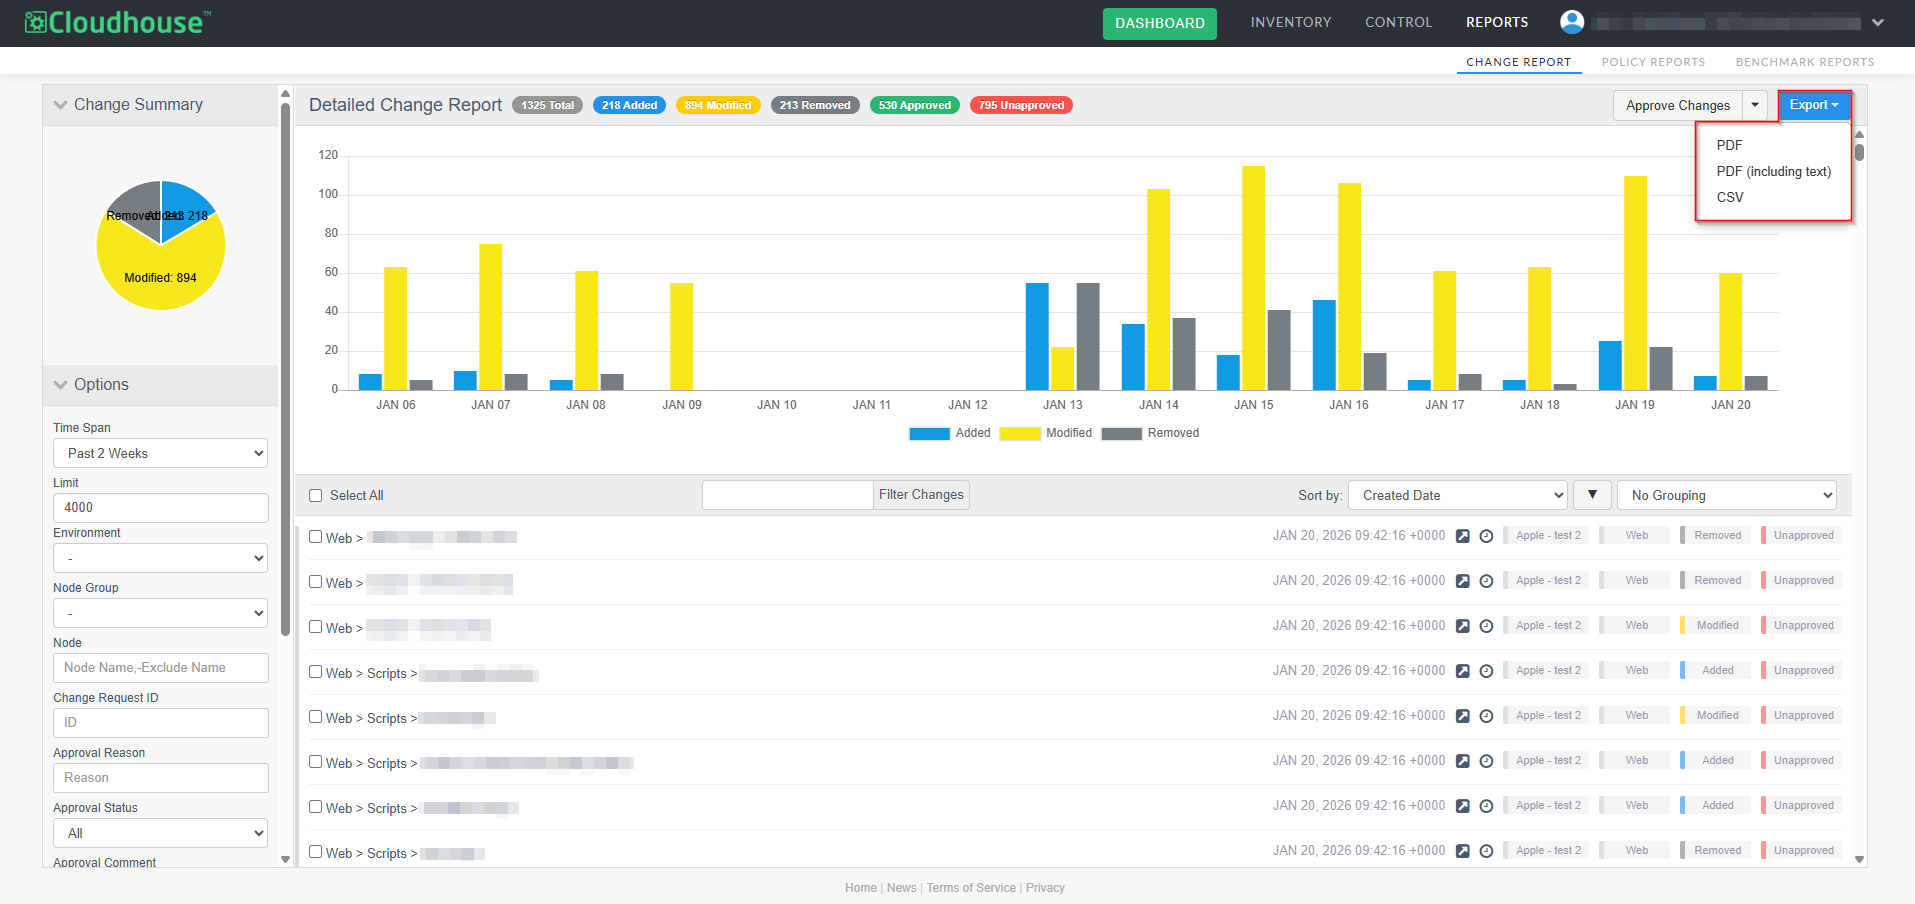
Export a Report
There may be a time when you want to share a report with someone who's not a Guardian user. To export a report, click the Export drop-down list at the top right of the page. Then, select PDF, PDF (including text) or CSV from the drop-down list to select a file format. You'll find your report wherever your device stores downloads.
Note: The PDF (including text) option displays any changes made within text files. This feature was introduced in V3.59.2 of the Guardian web application. For more information, see September 2025 Monthly Release.
Schedule a Report
Rather than visiting the Change Report tab every time you want to view change data, Guardian also lets you schedule change reports to be delivered directly to your email according to an interval of your choice. For example, daily, weekly, or monthly. You can configure a scheduled report to include any data you'd like, as well as set the recipients who should receive a copy of the report.
To schedule a report, complete the following steps:
- Filter the options you wish to include in the report using the fields in the Options drop-down menu. For more information on these options, see Report Options.
-
Click Schedule. The Schedule a change report dialog box is displayed.
-
Now, complete the following options.

Option Description Report Title field Enter the title you want to appear on your generated report, ensuring that the purpose of the report is clear. For example, 'Accepted Changes By Month'. Report Recipients field The email address of each person you want to receive the report. You can add multiple email addresses in a comma-separated list. Format drop-down list The format of the report. Select one of the following options from the drop-down list:
-
PDF
-
CSV.
Limit field The maximum number of changes to include in your report. Enter a value in the field, or use the arrows to increase or decrease the number of changes displayed. Interval drop-down list How often you want a new report to run. If selecting '24 hours', also select a Time and Timezone. If selecting '7 days', also select a Day, Time, and Timezone.
-
-
Click Save.
Once complete, your new report will run at the designated interval, and each recipient will receive a copy via email.
View Entire Change History
You can now view the full history of a specific change directly from the change report without needing to manually adjust filters or timelines.
Note: This feature was introduced in V3.60.0 of the Guardian web application. Upgrade to this version to access this feature, or see October 2025 Quarterly Release for more information.
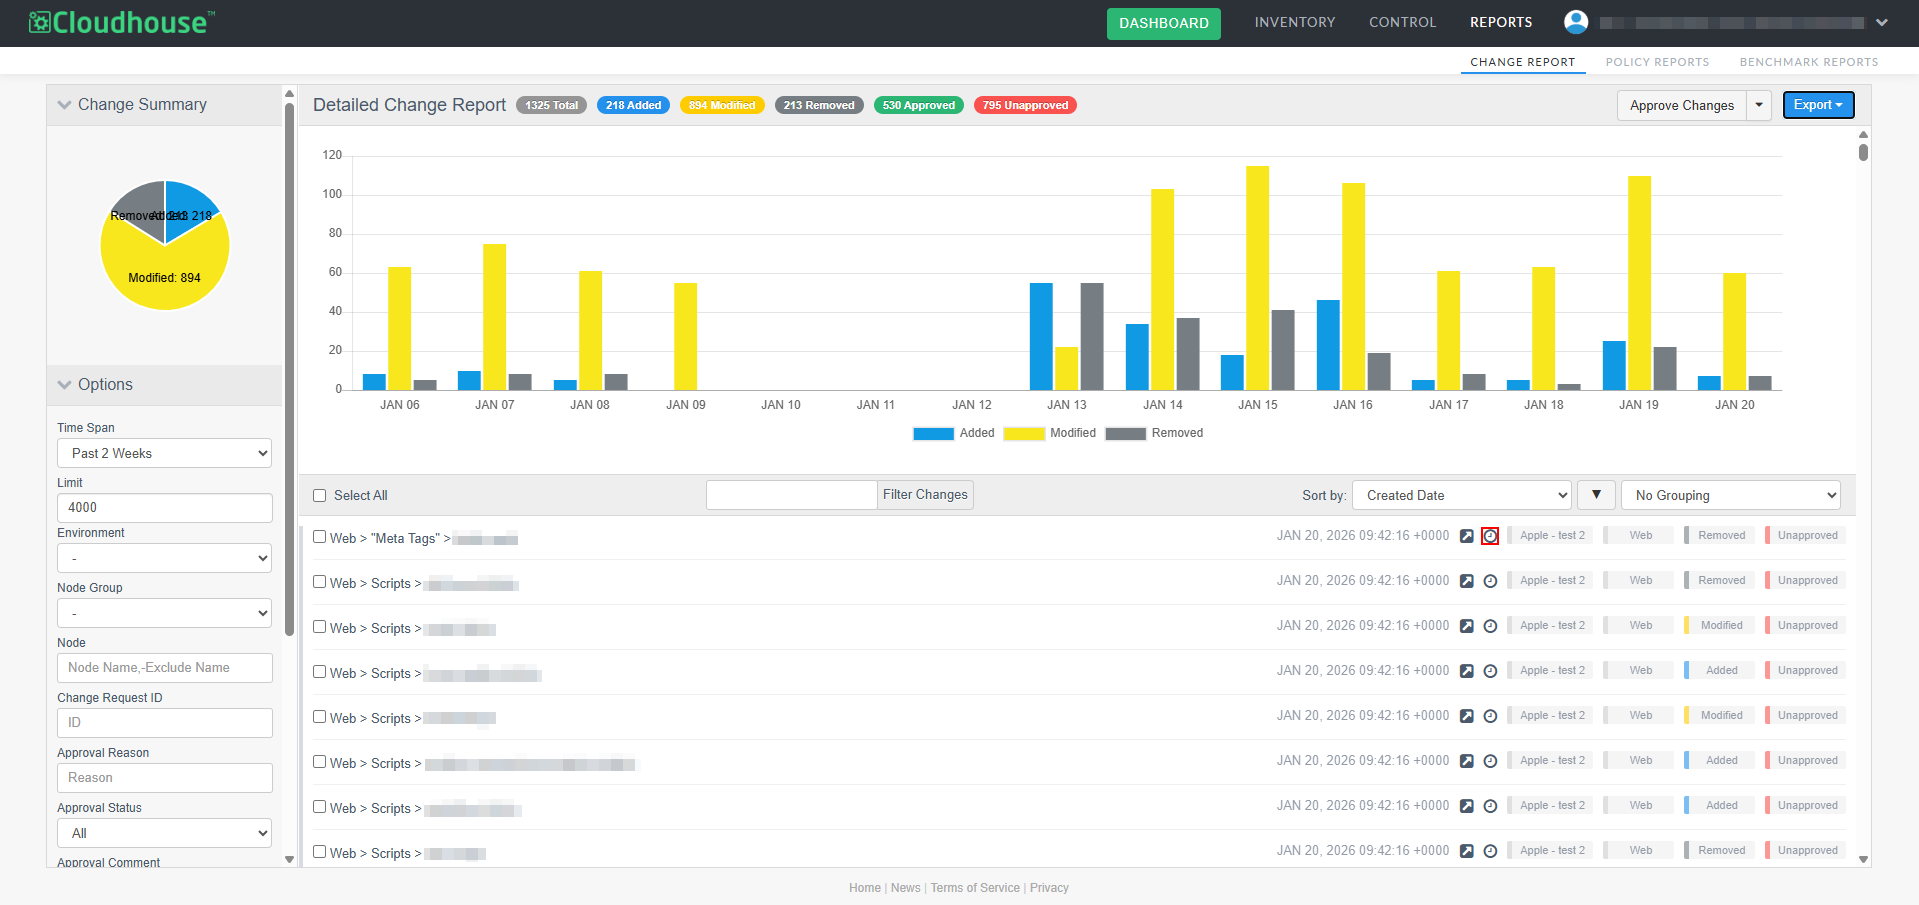
To view the change history, complete the following steps:
-
Locate the change you want to investigate.
-
Click the View History (
 ) button. A full list of modifications related to that change appears.
This button automatically displays all modifications related to the selected change, allowing you to review its complete history without losing your place in the report. This feature streamlines investigations and improves overall usability.